
Rust-Oleum Projects
DIY Painted Photo Frames & Stenciled Mats
Browse Projects
-
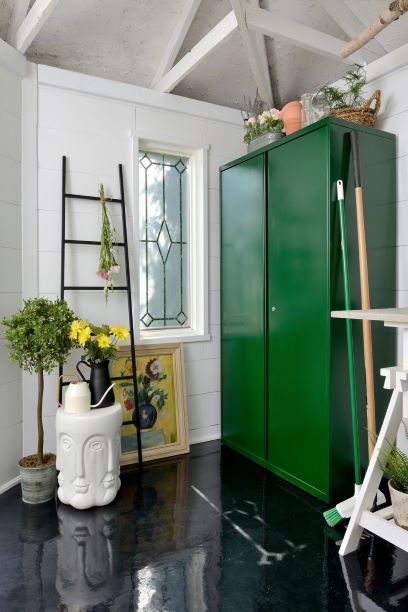
DIY Shed Floor Transformation
-
Estimated Time
2 Hours
-
Challenge Level
Easy
-
Tools & Supplies
-
Picture Frames
-
Lint Free Rag
-
Foam Brush
-
Painter's Tape
-
Paper Towels
-
Plastic Drop Cloth
-
Vinyl Stencil


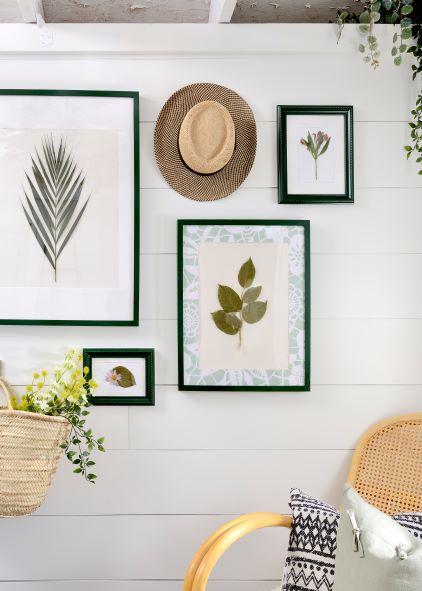
Level up your gallery wall by adding a custom colour to your frames and a unique stenciled pattern to your photo mats.
How To
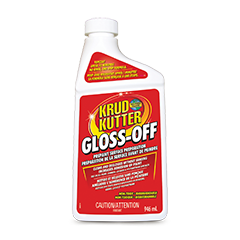
- Work in a well-ventilated area. Remove glass and matting from all frames and place frames on a flat surface covered with a disposable drop cloth. Using a lint-free cloth, wipe all frame surfaces down with Krud Kutter Gloss-Off.
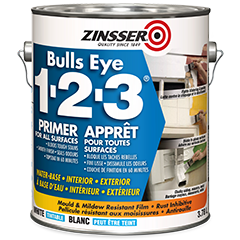
- Once dry, spray a light coat of Zinsser Bulls Eye 1-2-3 Primer on all frame surfaces.
- Once dry, apply 2-3 light and even coats of Painter’s Touch paint in the colour of your choice to the frames.
- While the frames are drying, place the mats on a clean, covered work surface and lay the stencil down overtop. Apply small pieces of painter’s tape around the edges of the stencil to secure it to the work surface.
- Load a small amount of Chalked paint in the colour of your choice onto the end of a foam brush, and then dab it on a folded piece of paper towel to remove any excess paint. With an up-and-down dabbing motion, apply the Chalked paint onto the photo mat area of the stencil.
- Once the stenciled area is complete, carefully remove the painter’s tape and peel the stencil to reveal the pattern.
- When the frames and mats are all thoroughly dry, reassemble, add artwork and enjoy!
Visit Rust-Oleum Canada and Leigh-Ann Allaire Perrault on Instagram for more tips and inspiration!
#ShedMakeoverTakeover