
Rust-Oleum Projects
DIY Moss Pots
Browse Projects
-
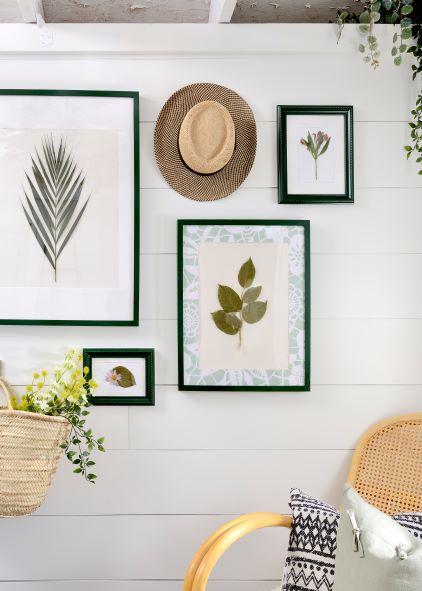
DIY Painted Photo Frames & Stenciled Mats
-
Estimated Time
4 Hours
-
Challenge Level
Easy
-
Tools & Supplies
-
Terracotta Pots
-
Decorative Dried Moss
-
Artist Brush
-
Safety Equipment
-
Craft Glue
-
Plastic Drop Cloth
-
Lint-Free Cloth
-
Paper Towels


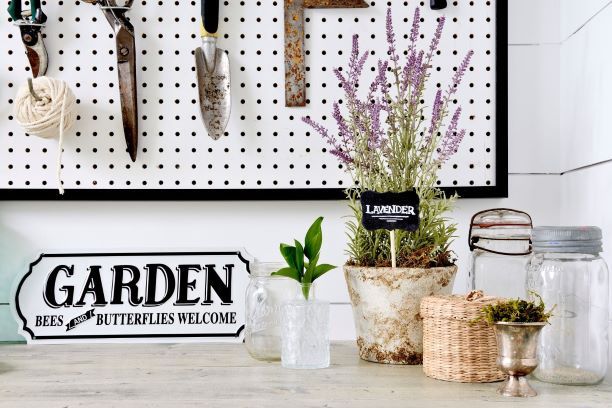
Turn your average terracotta pots into a unique garden feature with this simple yet sophisticated moss pot project!
How To
- Using a paint brush, apply a small amount of Chalked Ultra Matte Paint in Linen White and dry brush it on the surface of the pots. Dry brushing means you don’t need to completely cover the pots with a solid paint coating. It’s okay to have some of the terracotta finish showing through to create a lime-washed look.
- Once the Chalked base coat is dry, place the pot on a disposable drop cloth in a well-ventilated area, and spray a coating of Accents® Stone Creations in Bleached Stone on all surfaces.
- Allow to dry for approximately 15-20 minutes, and then apply a second coat.
- Once the textured Accents® Stone Creations finish is completely dry, dip a lint-free rag into a very small amount of Chalked Ultra Matte Paint in Country Grey, and rub it randomly onto the pot surfaces to create a weathered look.
- Allow the Chalked paint to dry for a minimum of 30 minutes. Then, using an artist’s brush, apply a generous amount of craft glue around the top and bottom edge of the pot, and randomly on the body of the pot as desired.
- Sprinkle ground-up dried moss onto the glue and shake off any excess. If you can’t find finely ground moss, place large clumps of dried moss into a dry grinder or blender to turn it into a fine consistency.
- Once glue and moss are dry, add a plant and enjoy!
OPTIONAL: If your pot will be in an area with a lot of moisture, spray all surfaces with a coat of Rust-Oleum Universal® Clear Spray Top Coat.
Visit Rust-Oleum Canada and Leigh-Ann Allaire Perrault on Instagram for more tips and inspiration!
#ShedMakeoverTakeover