
Rust-Oleum Projects
DIY Moving Monitor Stand
Browse Projects
-
DIY Modern Masters Wall Stencil Project

-
Estimated Time
4-5 Hours
-
Challenge Level
Easy
-
Tools & Supplies
-
2 - 1”x6”x6’ boards (I used walnut)
-
Saw
-
Pneumatic nailer (I used a 23g but a standard 18g will work too) with 1 ¼” nails
-
Clamps
-
Wood Glue
-
Tape Measure
-
Drill
-
Sander with 150, 220 and 300 grit sandpaper
-
Gloves
-
Rag
-
Pencil
-
Safety equipment

Get the most out of your work surface area while you’re putting in the hours. When you finish up the weekly grind, slide things back into place for a nice, clean, minimalist appearance.
STEP 1 (GLUE UP): Apply your favourite wood glue to the edges of the boards and clamp them together. Leave to dry for two to three hours.
TIP: It’s important to look for the flattest boards possible when shopping for your lumber, but it is not always possible. I like to rotate my crowns when doing small glue ups; I’ll have the crown in the wood face down on one side and then have it face up on the other side. I find this to help balance things and keep your wood flat once it is in its new home.
STEP 2 (PLANING): Every desk is a different size, so I will share my measurements and a few things to keep in mind when you are measuring for your own stand. You will want to make sure that your laptop and monitor will be able to sit properly on one side of your stand when it is open. For my space, I took the total length of my desk and took away 10”. This would leave me with 5” of desktop on either side of the stand when the stand is closed. And, that 5” of space will give you enough room for your stand to open up and still be sitting on your desktop. I found that a 4” tall stand would raise my monitor to a perfect height for me when I am sitting down - but that is something that you may want to think about when you are prepping for your monitor stand
STEP 3 (THE CUT LIST): My monitor stand is cut to the following dimensions:
TOP: Cut 1 piece to 30 1/8”
TOP SIDES: Cut 2 pieces at 3 ¼”
CUBBY TOP: Cut 1 piece at 14”
CUBBY SIDES: Cut 2 pieces at 2 ½”
STEP 4 (ASSEMBLE): Glue the sides of the cubby and attach with nails through the top. Do the same for the top. Once the glue is dry, cut the top in half so you are left with two 15” tops with one leg on each half.
TIP: Most saw blades are ⅛” thick. So, by cutting the original top to 30 ⅛” - we factored in the amount of material that would be removed by the thickness of the blade in the second cut. This left us with two sides at 15” and not one side slightly longer than the other.
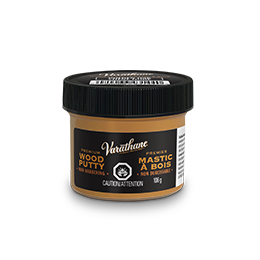
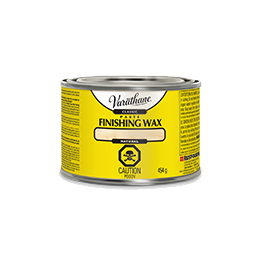
STEP 5 (FINISH): Once things are together, sand everything with 150-grit sandpaper. Then apply a coat of Watco Tung Oil with a rag. Once the oil is dry to touch, sand with a 220-grit sandpaper and apply a second coat of Watco Tung Oil. Let that sit overnight and do a final sand with 300-grit sandpaper and then buff on some Varathane Classic Paste Finishing Wax for additional protection. Once the wax is dry, fill any holes with Varathane Premium Wood Putty. I used Dark Walnut but they also have a variety of colours: Ebony, White, Cherry, Early American, Red Mahogany, Golden Oak and Natural Pine.
Visit Rust-Oleum Canada and Remarkable Woodworks on Instagram for more tips and inspiration!
#WE_WOOD -
Prepared by: From Remarkable Woodworks