
Rust-Oleum Projects
DIY Chalked Blanket Ladder
Browse Projects
-
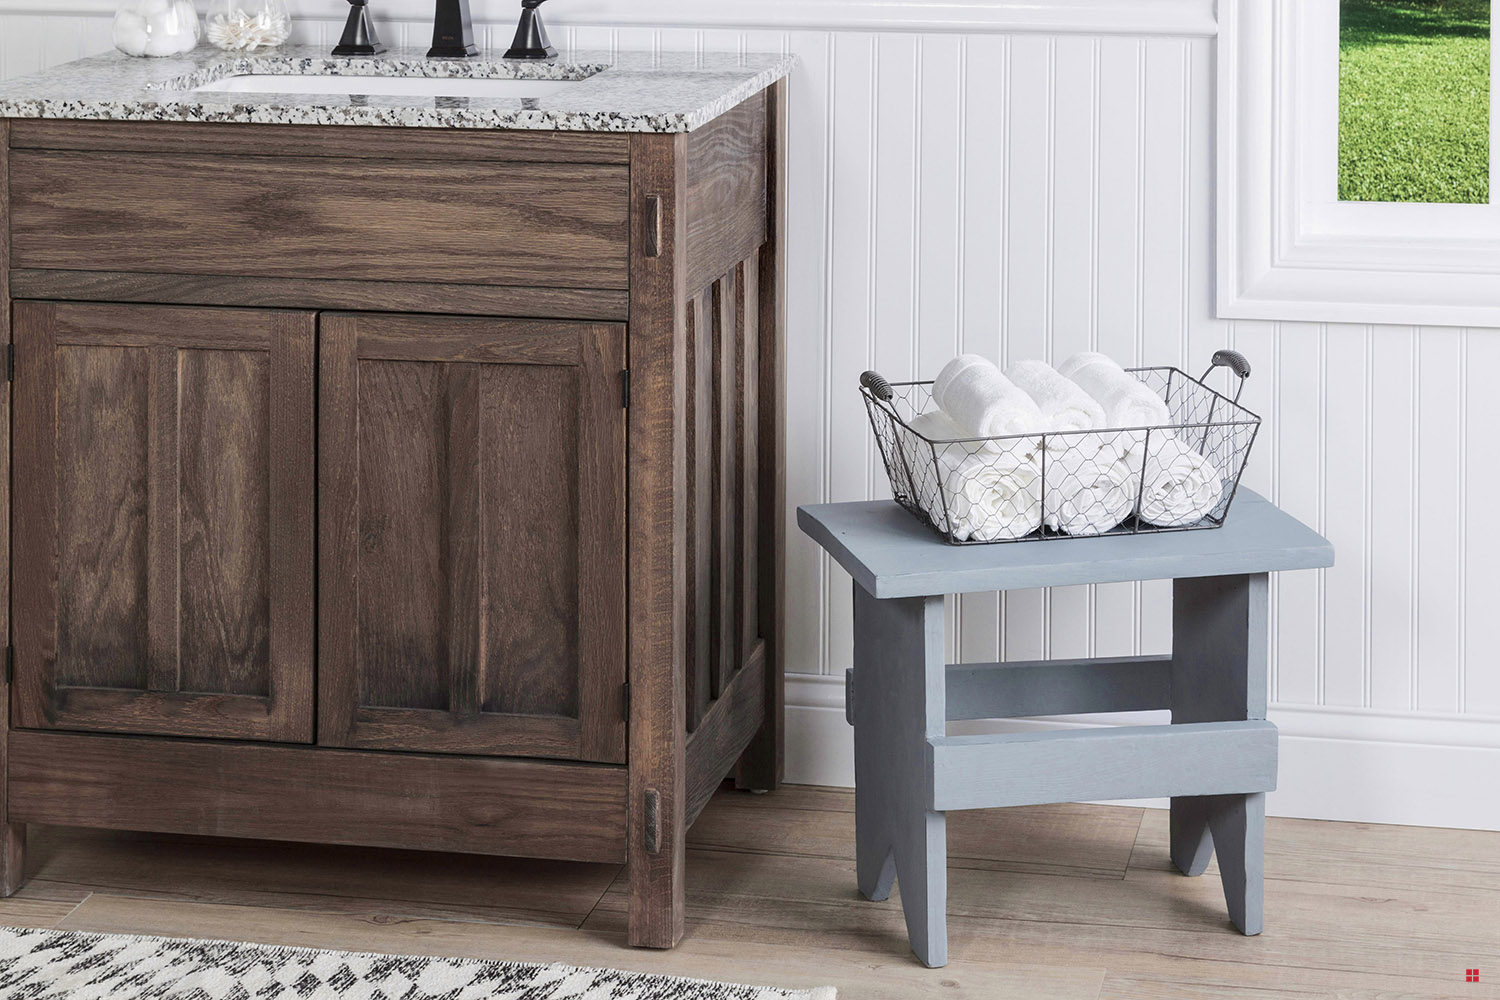
Milk Paint Small Wooden Bench
-
Estimated Time
3 Hours
-
Challenge Level
Intermediate
-
Tools & Supplies
-
Lint-Free Cloth
-
(2) 2”x2” boards cut to 5’ long
-
4) 1”x6” boards cut to 17” long
-
Tack Cloth
-
Jig (Optional)
-
Drill
-
High Quality Synthetic Bristle Brush
-
Stir Sticks
-
Screws


- PREPARE: Always work in a well-ventilated area and cover your workspace with a drop cloth to protect it from drips.
- BUILD: If you have a jig, use it to drill 1-1/2” pocket holes into the ends of each 1”x 6”. Lay one 2”x 2” flat, and align the 1”x 6”s on the board (angled with the pocket holes facing back), leaving about 12” in between each board. Attach the boards with pocket hole screws. If you don’t have a jig, pre-drill holes from the sides of the 2”x 2” boards into the ends of the 1”x 6” boards, making sure to leave about 12” in between each board. Slightly angle the 1”x 6”s, and then attach them to the 2”x 2”s with wood screws. Attach the second 2”x 2” board to the other side to complete your ladder.
- PAINT: Stir your can of Chalked Ultra Matte thoroughly with a stir stick. Then, use your brush to apply the paint to the ladder using light, even strokes to ensure a smooth finish. Apply 1-3 coats of Chalked, waiting about 30 minutes in between each. Let the paint dry for four hours.
- DISTRESS (OPTIONAL): To get a distressed look, use a medium grit sandpaper to lightly sand the ladder, focusing on its edges and corners. Once you’re done distressing, wipe away the sanding dust with a tack cloth.
- PROTECT: To protect your ladder’s finish, first stir your Chalked Protective Topcoat thoroughly with a clean stir stick. Then, apply 1-2 even coats to the ladder, allowing 30 minutes between each. Be careful not to over brush.
- FINISH: Let the ladder dry for 24 hours. Once your ladder is completely dry, add a few cozy blankets and enjoy!