
Rust-Oleum Projects
Remarkable Cupboard Caddy
Browse Projects
-
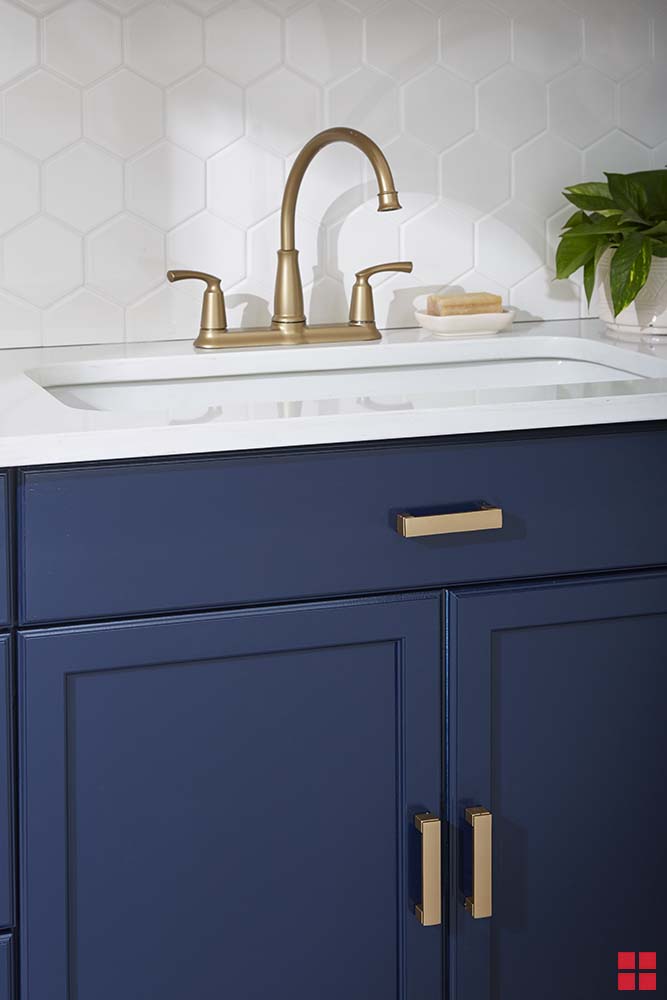
DIY Updated Kitchen Cabinet Hardware
-
Estimated Time
4-5 Hours
-
Challenge Level
Intermediate
-
Tools & Supplies
-
(1) 1” x 8” wood/MDF
-
Wood Glue
-
Saw
-
18 G Brad nailer
-
1 ½” Brad nails
-
Drill
-
Jig Saw
-
Tape Measure
-
Sandpaper: grits 150
-
Pencil
-
1” putty knife
-
Safety Equipment
-
Sander


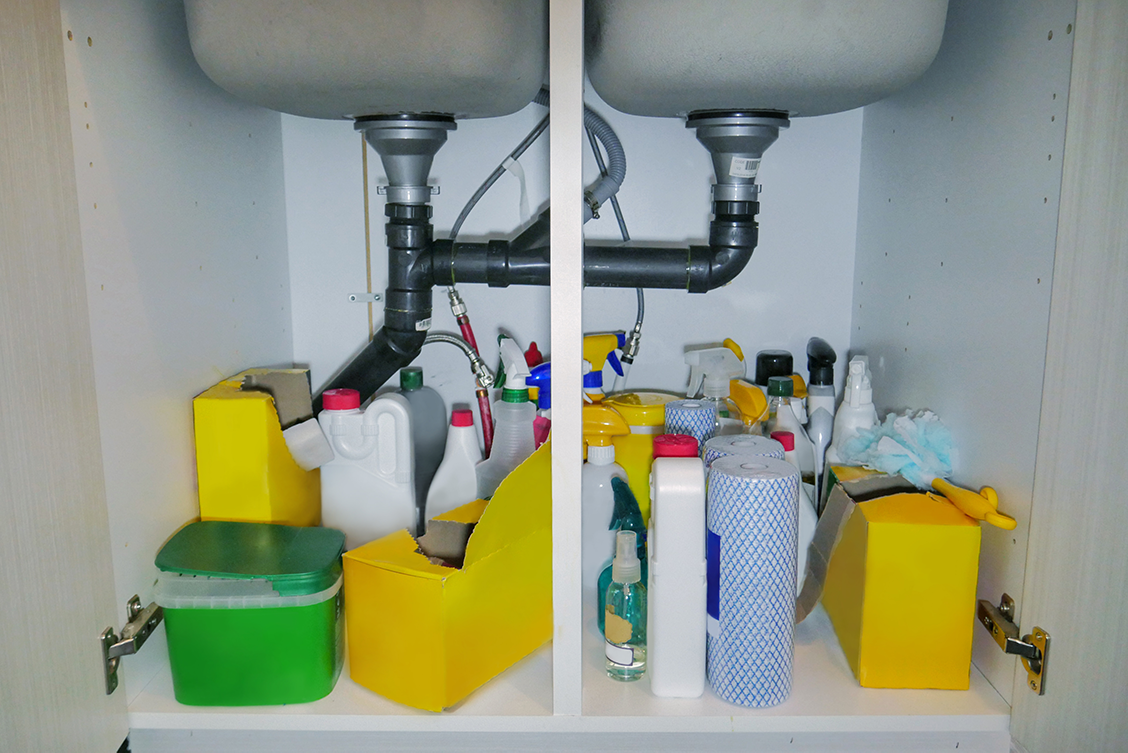
Under your sink is due for some organization! Get your DIY on and build a Cupboard Caddy to help free up some space!
STEP 1: Cut your wood into the following sizes:
Front Piece: 7” wide x 13 1/2” long
Back Piece: 6 ¼” wide x 12” long
Side Pieces: 6 ¼” wide x 9” long (times two)
Shelf Piece: 3 ½” wide x 12” long
Divider Pieces: 5 ½” wide x 5” long
STEP 2: On the side pieces, measure 7” up one side of the long measurement (the 9” side) and make a mark. On the opposite side of your mark, measure 3 ½” along the wide measurement (the 3 ½” side) and make a mark. Draw a line connecting the two marks to give you an angle and cut along the line. TIP: Once you have one side cut, you can use it as a template to mark and cut your second side.
STEP 3: On the front piece you need three 3 ½” wide slots for the cubbies. To do this, find the middle of the long side of the board (6 ¾” in from the 7” side) and measure 1 ¾” on both sides of the middle mark. This will give you a 3 ½” gap. Then, measure in ¾” from the sides of the front piece and make a mark. This will indicate where the side pieces will attach. From those marks, measure 3 ½” and make another mark(s). This will be where the dividers go and give you an idea of where the left and right cubbies will be. There should now be three cubbies that are 3 ½” wide.
STEP 4: (On the front piece): Use the lid of a Varathane Wood Filler can to draw three half-circles where the cubbies are. Draw a line that is 2” from the top of the long side – this will be used as a reference line when cutting the half-circles of the cubbies. Place the lid so that it touches the 2” reference line and the edges of the 3 ½” cubby marks. Once the half-circles are displayed, cut them out using a jigsaw.
STEP 5: Attach the pieces using wood glue and 1 ½” Brad nails. Attach the front piece to the 7” part of the side pieces. NOTE: The outside of the side pieces should be flush with the ends of the front piece. Attach the back piece inside of the side pieces. Glue the shelf piece on top of the back piece and Brad nail in place. Install the dividers inside the cubbies so that you have three cubbies that are 5 ½” deep and 3 ½” wide. NOTE: It might help to cut a small 3 ½” spacer to use when attaching the dividers. OPTIONAL: Using a jigsaw, cut a ½” wide slot in the middle of the side piece that will be next to the cupboard door. This will be used as an easy access for your most common garbage bags.
STEP 6: Mix a small amount of Varathane Wood Filler with a drop of the white hardener that comes in the lid. TIP: The lid acts as a mixing cup. Using a 1” putty knife, fill all of the nail holes. The Varathane Wood Filler dries extremely hard. It will be dry to touch in 15 minutes and could be ready to sand within 15-25 minutes. Once dry, sand until smooth and wipe away dust.
STEP 7: Shake a can of Zinsser Bullseye 1-2-3 Primer vigorously for one minute. Keep the can 8-12” from the surface and keep it in motion while spraying. Switch angles and positions to apply primer in all the nooks and crannies, and then wait 1 hour to dry. Using the same method, apply two coats of Painter’s Touch Ultra Cover 2X Paint waiting 30-40 minutes between coats. NOTE: For added protection, apply one coat of Varathane Triple Thick One Coat.
Visit Remarkable Woodworks on YouTube for a closer look at how he made this. Also, visit Rust-Oleum Canada and Remarkable Woodworks on Instagram for more tips and inspiration!
#WE_WOOD - #WE_WOOD SPRING CLEANING EDITION
