
Rust-Oleum Projects
DIY Puzzle Piece Serving Boards
Browse Projects
-
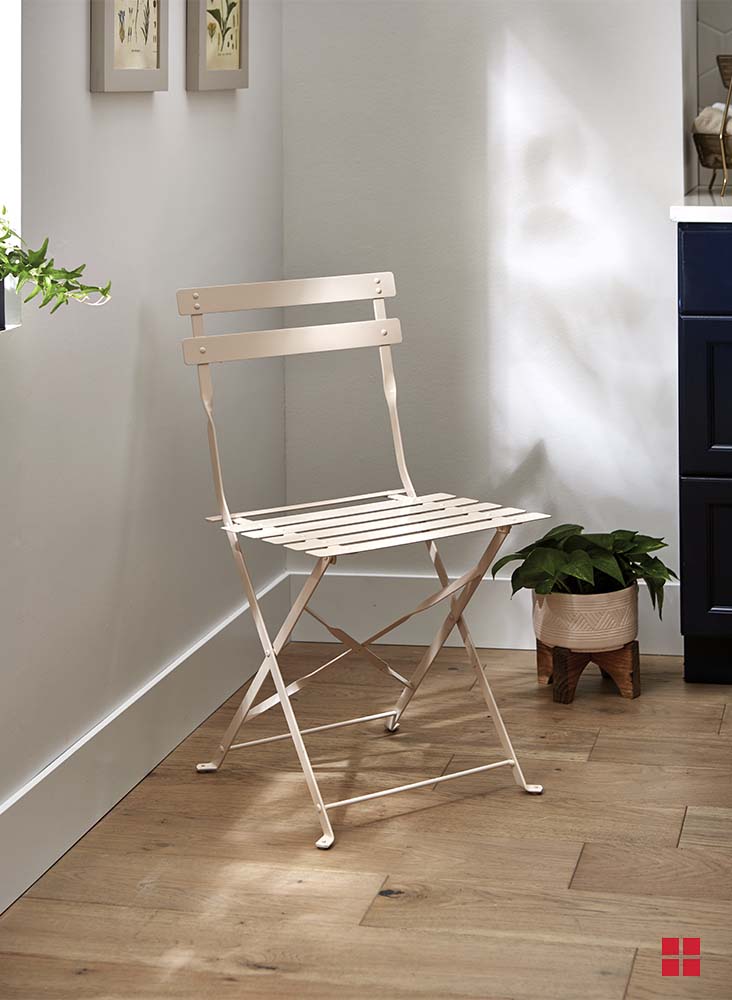
Kitchen Accent Chair DIY
-
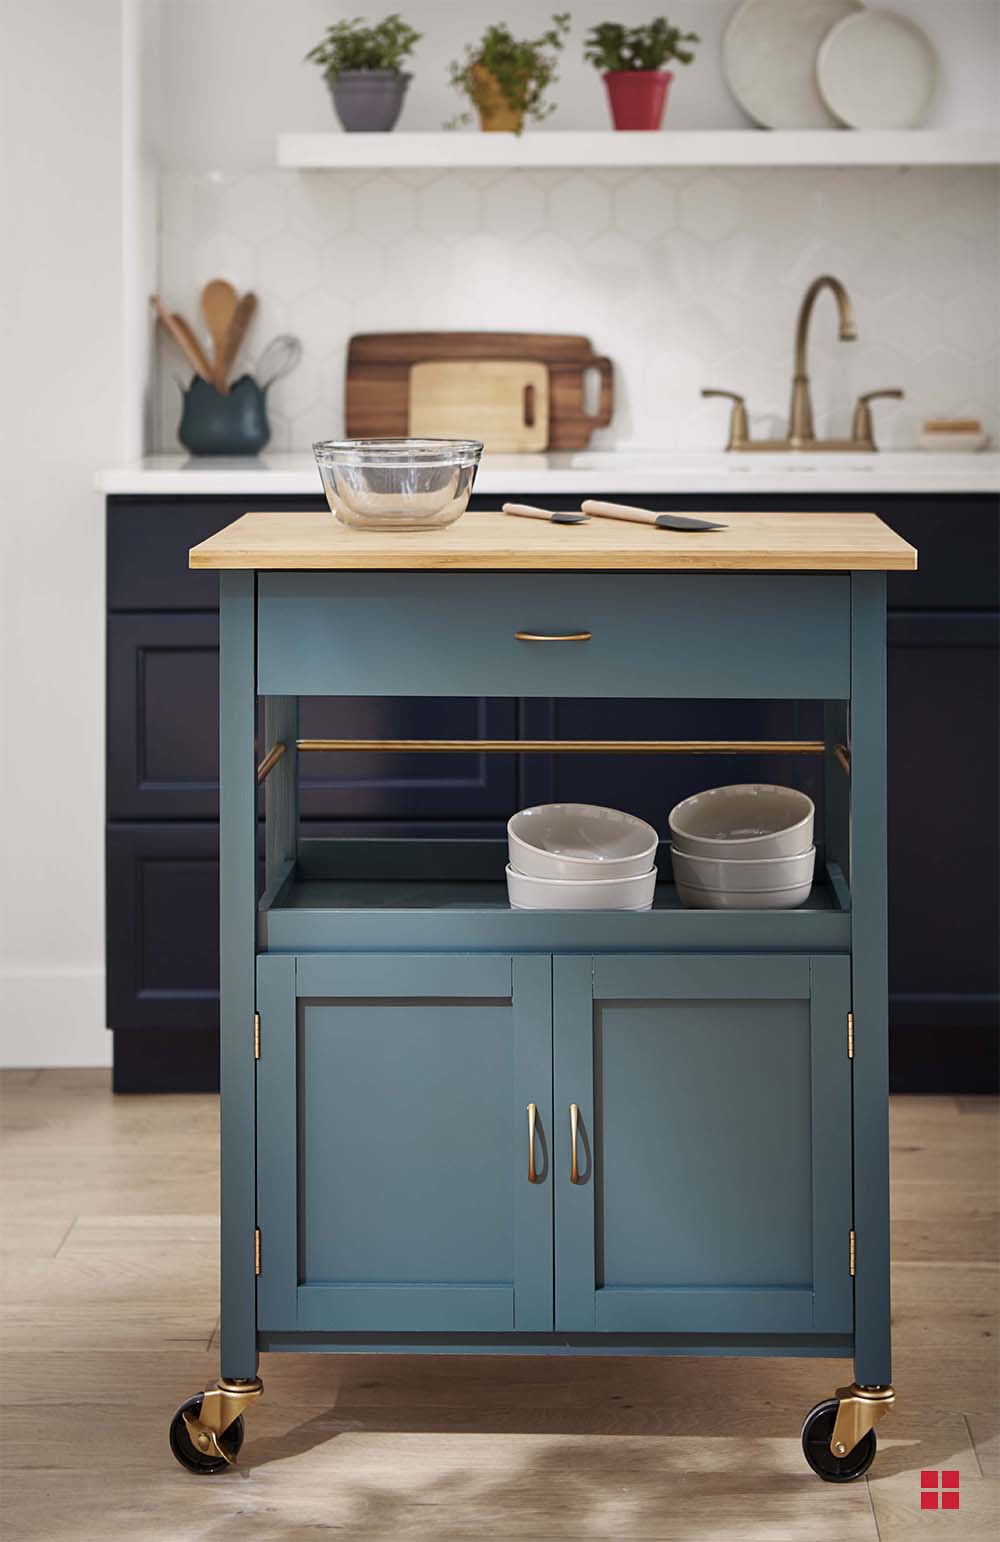
Update a Kitchen Island Cart
-
Estimated Time
2 Hours
-
Challenge Level
Intermediate
-
Tools & Supplies
-
Untreated hardwood board (approximate size 8” wide, 24” long, 1” thick)
-
Electric jig saw
-
Gloves
-
Lint Free Rag
-
Sanding block or electric palm sander
-
Chalk
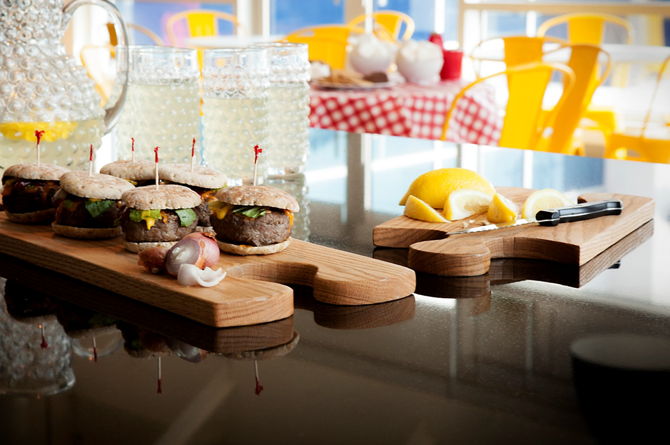
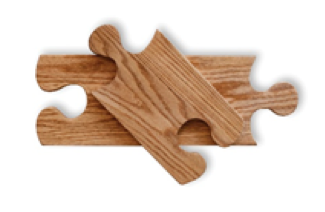
Warmer weather often means that our living spaces extend into the outdoors, with patio furniture becoming our new seasonal dining room and the barbeque taking centre stage as our hub for cooking and entertaining. To help carry food and beverages from inside to out, try flexing a little DIY muscle to create these easy and affordable DIY puzzle piece serving boards. Use individually at your next afternoon get-together, or interconnected along the centre of your outdoor dining table to host a chic charcuterie evening al fresco. These unique boards will have you serving up style all summer long.
How To:

Step 1
Using a piece of chalk, sketch a puzzle pattern near both ends of the plank and in the centre to create two connecting serving boards.

Step 2
With a jig saw, cut along the chalk lines.
Step 3
Sand all wood surfaces thoroughly, round edges with palm sander and then wipe down both boards with a damp lint-free rag to remove all sanding particles.
Step 4
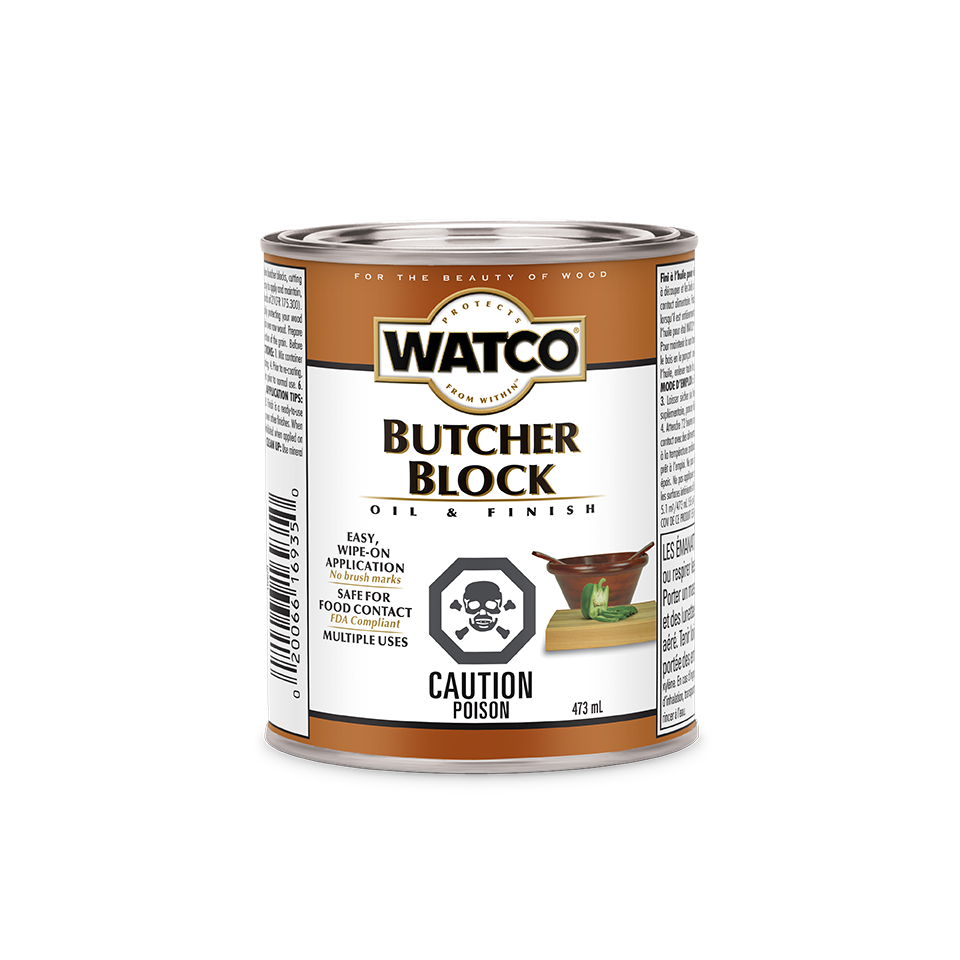
Wearing gloves and using a lint-free rag, apply an even coat of Watco food safe Oil & Finish to seal and protect boards.