
Rust-Oleum Projects
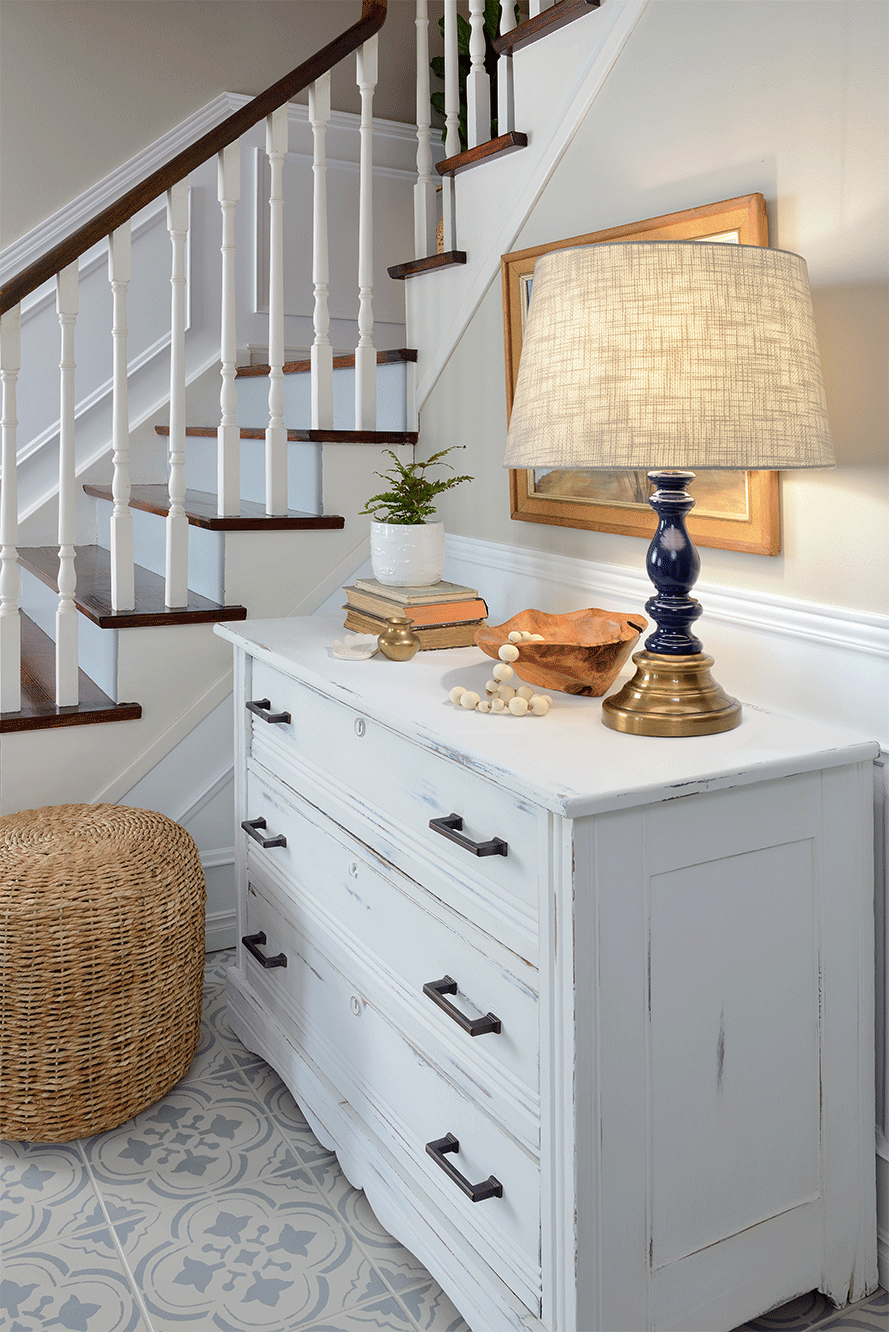
Chalked Painted Furniture
Browse Projects
-
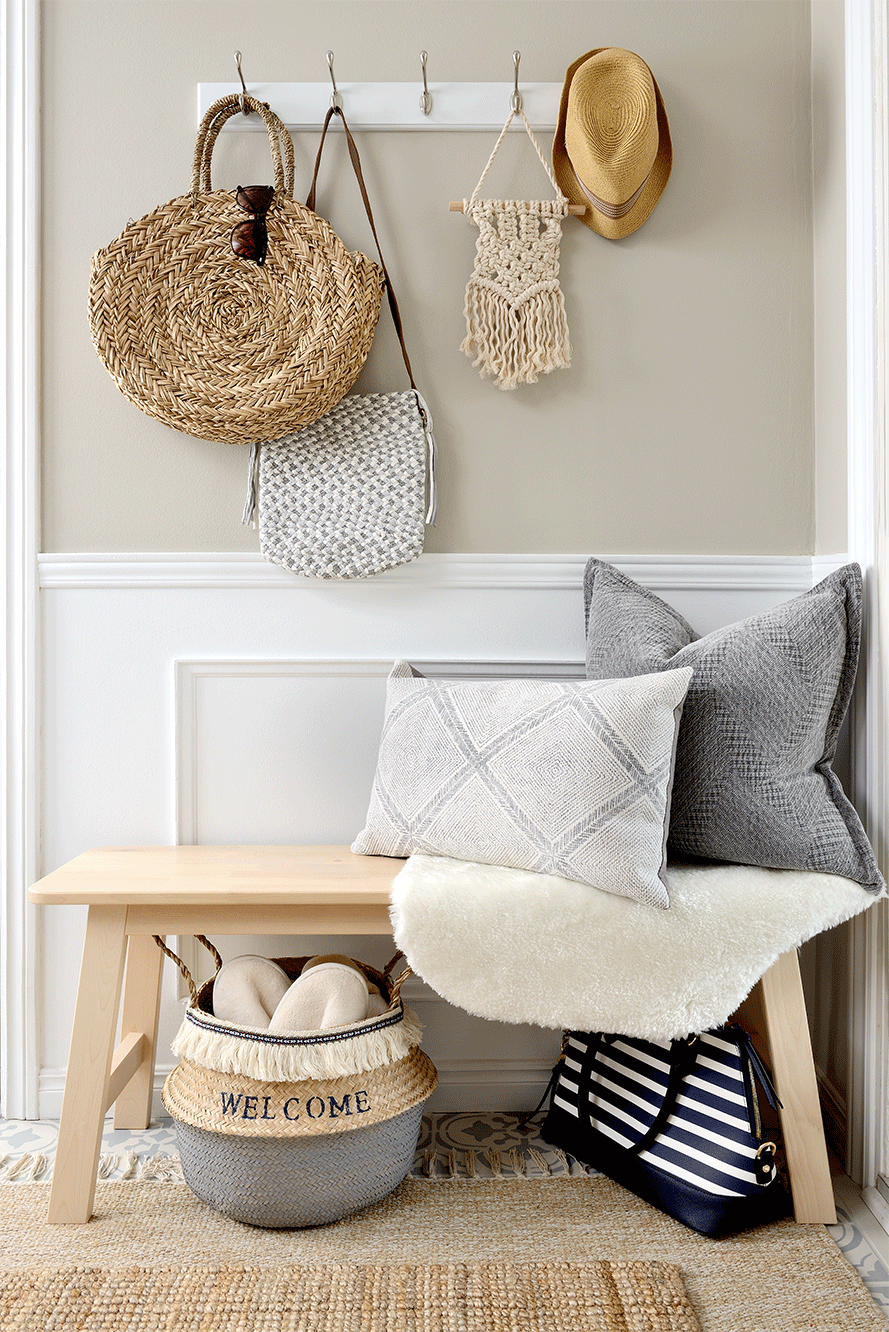
Customized BoHo Belly Basket
-
Estimated Time
4 Hours
-
Challenge Level
Easy
-
Tools & Supplies
-
Drop Cloths
-
Sandpaper: grits 120
-
Strong Tea
-
Lint Free Cloth


- No priming required on most surfaces and adheres to many interior finishes such as wood, metal, glass, ceramic and more
- Only one-coat coverage is needed on most surfaces and coating dries in 30 minutes
- Easy application and dries to a smooth, chalky finish
- Available in 14 pre-mixed colours and 25 unique tintable colours
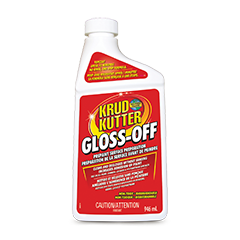
- Using a lint-free cloth, wipe all surfaces of the furniture piece with Krud Kutter Gloss-Off and allow to dry thoroughly (no need to rinse).
- Ensure that your base coat Chalked colour is stirred well in the can, and then brush it evenly onto the surface using a Chalked brush*. The base coat does not need to cover completely, but take extra care to coat edges well.
- Allow the base coat colour to dry, and then stir the second Chalked colour to be applied over the base colour.
- Using a Chalked brush, apply the second colour over all surfaces, ensuring it is evenly coated.
- If a second top coat is desired, apply after 30 minutes and let dry.
- Using 120-grit sandpaper, lightly sand the edges of the furniture piece to reveal the base colour, and then sand some “intentional” wear marks to create an antique distressed look.
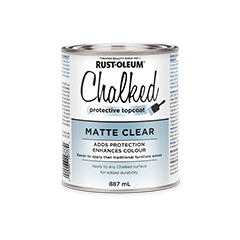
- Vacuum and dust off the piece to ensure all sanding debris is removed, and then apply one coat of Chalked Clear Protective Topcoat on all surfaces to add durability and protection.
- Allow to dry before moving and placing accessories on top.
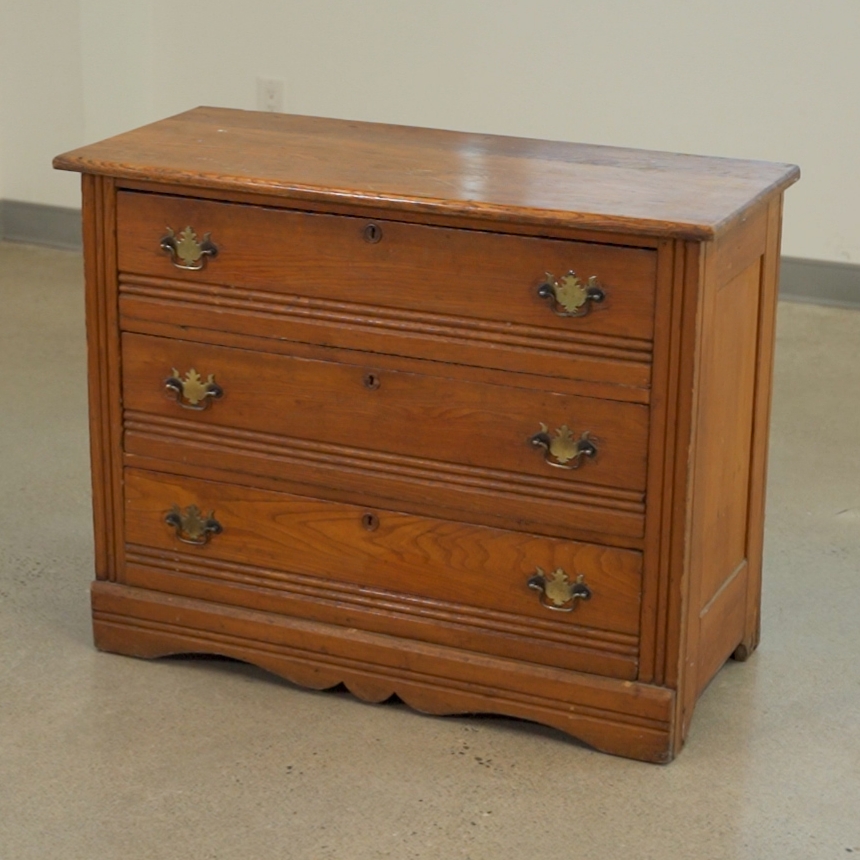
Chalked Painted Furniture
A quick and easy way to update your furniture is to add a fresh coat of Chalked paint in the colour of your choice!
Why Chalked ROCKS:
Steps
*Brush application is recommended with using Chalked