
Rust-Oleum Projects
Mason Jar Centerpieces Fit for a DIY Wedding
Browse Projects
-
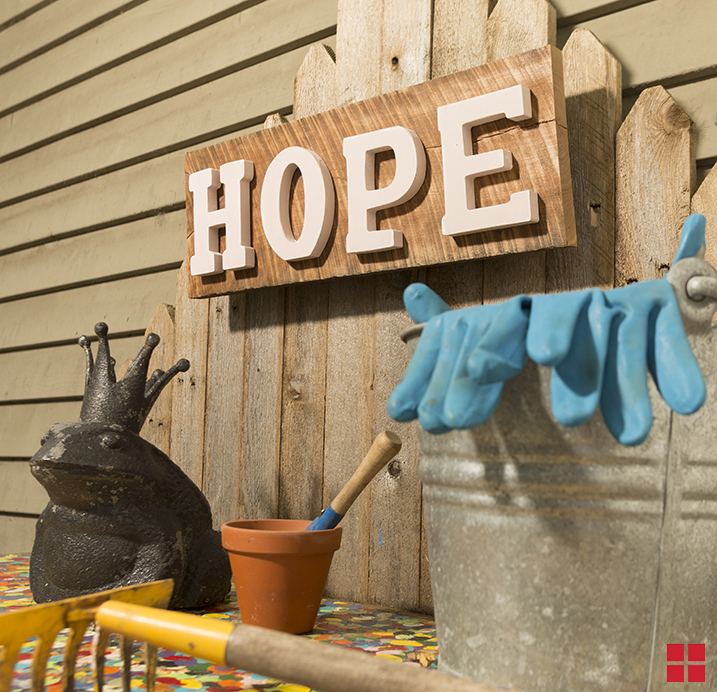
DIY Wall Art with Block Letters
-
Pink Vintage Picture Frames

-
Estimated Time
1 Hour
-
Challenge Level
Easy
-
Tools & Supplies
-
Mason Jar
-
Drop Cloth
-
Medium-Grade Sandpaper
-
Lint Free Cloth
-
Tack Cloth
-
Glass Cleaner


These elegant Mason jars are perfectly distressed to make a beautiful addition to the decor at any wedding or shower. Here’s how to make them in a few easy steps.
- PREPARE: Always work in a well-ventilated area and use a drop cloth to protect from overspray. Clean the jars with a lint-free cloth and glass cleaner.
- PAINT: Shake your can of Chalked Ultra Matte Spray for one minute after the mixing ball starts to rattle. Then, holding the can 10-12” away from the surface, spray the jars in a steady, sweeping motion. Apply 2-3 light coats, allowing a few minutes in between each coat. Then, let the paint dry for four hours.
- DISTRESS: To get a vintage look on these Mason jars, use your medium grit sandpaper to lightly sand the jars, focusing on curves and edges. Once you’ve achieved your desired look, wipe away the sanding dust with a tack cloth.
- TOPCOAT: Next, shake your can of Chalked Protective Topcoat Spray and spray the jars using the same technique you used in step two. Let the topcoat dry completely for four hours.