
Rust-Oleum Projects
DIY Wall Art with Block Letters
Browse Projects
-
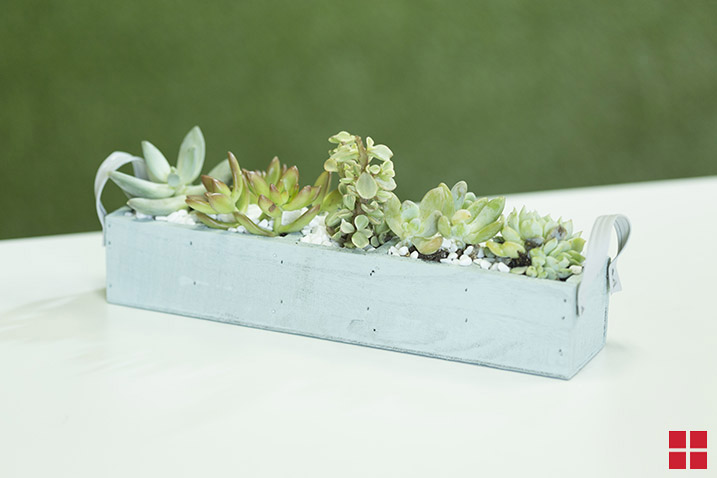
DIY Chalked Planter
-
Mason Jar Centerpieces Fit for a DIY Wedding

-
Estimated Time
2 Hours
-
Challenge Level
Easy
-
Tools & Supplies
-
Large Piece of Reclaimed Wood
-
Painter's Tape
-
Wooden Craft Letters
-
Saw
-
Sandpaper
-
Tack Cloth
-
BBQ Grill
-
Nails
-
Power Drill
-
Permanent Marker
-
Picture Hanging Hardware
-
Paintbrush
-
Stir Sticks

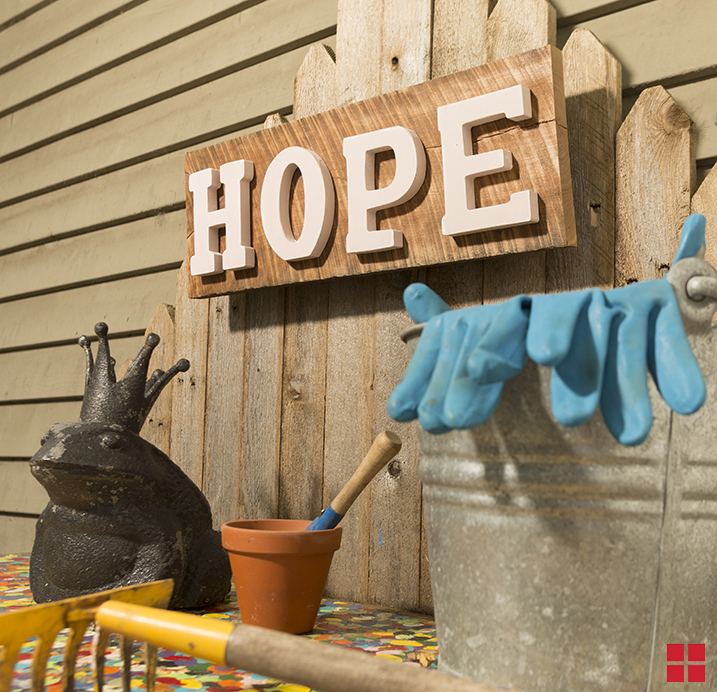
Don't pay for expensive wood wall art when you can make your own for a fraction of the price. Follow these steps to make our HOPE sign, or change it up and create your own custom phrase.
- PREPARE: First, you'll want to make sure you have the appropriately sized wood backing for your letters. To do this, lay your letters out on a piece of reclaimed wood and mark the dimensions you want the wood to be. Use a saw to cut the wood to size. To get our textured look, belt sand your saw marks on the wood to create a contrasting effect.
To prepare the letters, lightly sand each letter and wipe clean with a tack cloth.
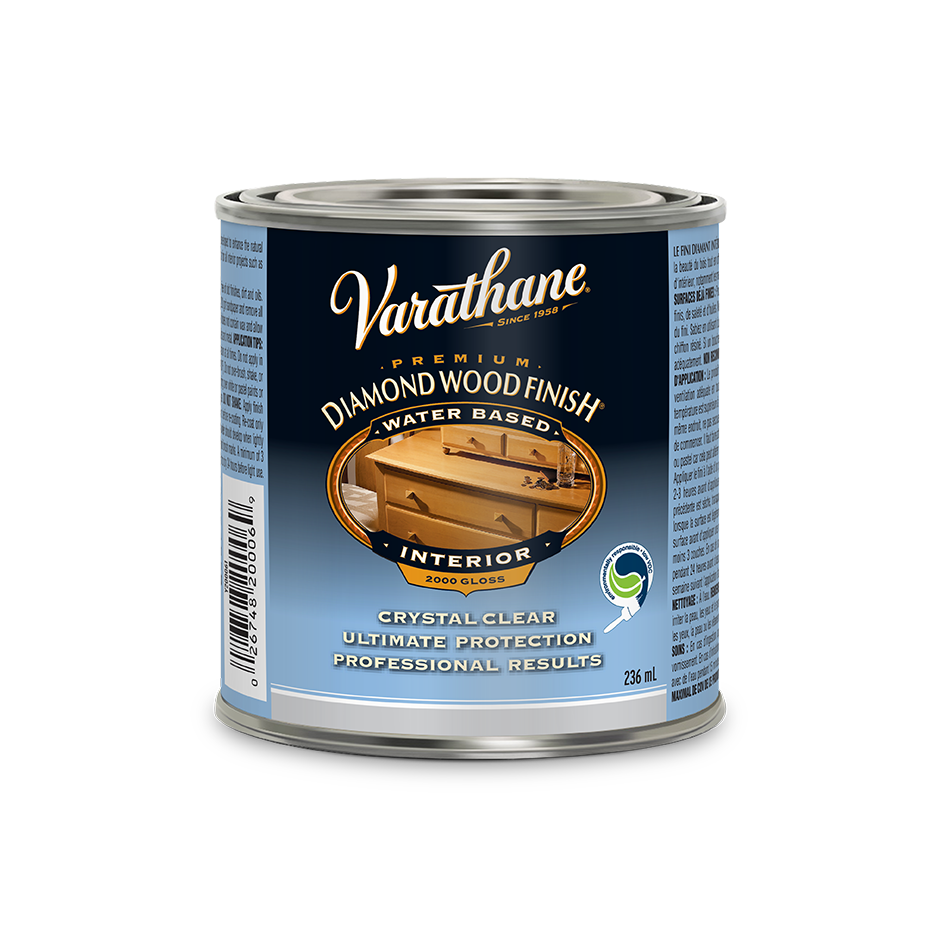
- WOOD BACKING: To finish the wood backing, stir your Diamond Wood Finish in Satin thoroughly with a stir stick and apply three coats to the wood, making sure to wait 2 hours in between each coat. Let the wood cure for at least 48 hours before attaching the letters.
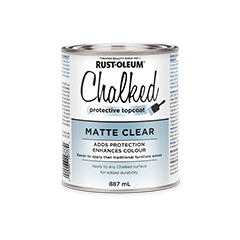
- WOOD LETTERS: To paint your letters, stir your can of Chalked Ultra Matte paint in Blush Pink thoroughly with a stir stick and use light, even brush strokes to apply an even coat over the letters. Apply a second coat after 30 minutes, and let the letters dry completely for an additional 2 hours after your final coat. Once the paint is dry, you can distress it for a worn vintage look. If you choose to do so, use a fine to medium sand paper and lightly sand, focusing on the edges and curves of the letters. Once the letters are distressed and have been dry for at least 8 hours, apply 1-2 even coats of Chalked Protective Topcoat for added durability.
- ASSEMBLE: Once the wood backing has cured and your letters are dry, lay the letters out on top of the wood to determine spacing. Mark your spacing with painter’s tape and use a permanent marker to indicate where you'll need to drill holes to attach the letters. Drill pilot holes into the wood backing. Stand the sign up, align your letters, and drive screws into the letters from the back of the sign. Attach your picture hanging hardware.
Hang up in any room of your house and enjoy.