
Rust-Oleum Projects
DIY Chalked Planter
Browse Projects
-
Create Chalkboard Block Houses
-
DIY Wall Art with Block Letters

-
Estimated Time
1 Hour
-
Challenge Level
Easy
-
Tools & Supplies
-
Planter
-
Pebbles
-
Succulents
-
Soil
-
Sanding Block: Fine Grit
-
Hammer
-
Tack Cloth
-
Latex Gloves

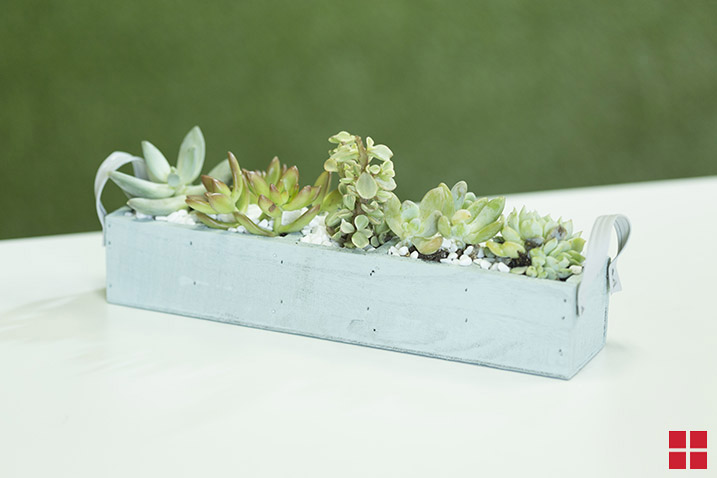
This DIY succulent planter will brighten up any room. Here’s how we made it in just a few easy steps:
Step 1

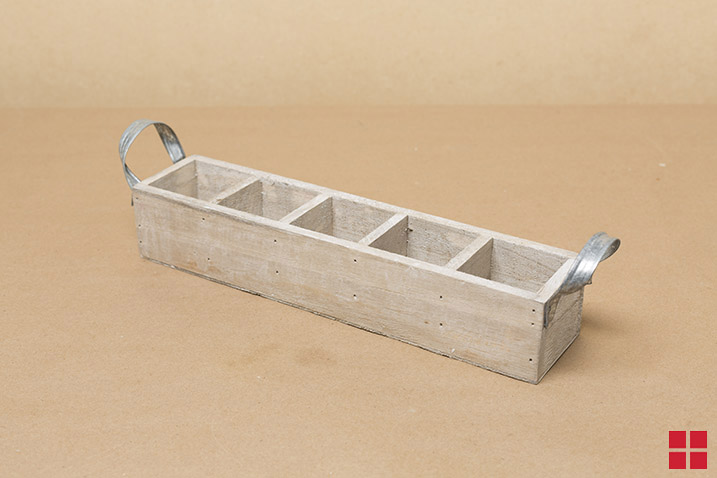
PREPARE: Always work in a well-ventilated area and use a drop cloth to protect your workspace from overspray. If your wooden planter has any handles, you should remove them prior to starting your project.
Step 2

SAND: When looking over your planter, lightly scuff the sides of your planter until you have a smooth finish. Once sanded, wipe off excess sawdust with a tack cloth.
Step 3

PAINT: Set your planter on your drop cloth. Then, shake your can of Chalked Ultra Matte Spray for one minute after the mixing ball starts to rattle. Hold the can 10-12” away from the wooden planter and spray in a sweeping motion. Apply 2-3 light coats, allowing a few minutes in between each coat. Then, set the wooden planter aside to dry.
Step 4

PAINT: Follow the same painting procedure to paint the handles. Ones painted set aside to dry.
Step 5

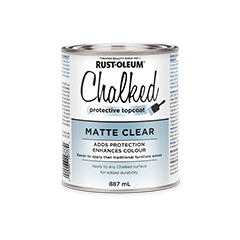
PROTECT: To protect your wooden planter’s finish, simply apply Chalked Protective Clear Coat. Shake the can for one minute after the mixing ball starts to rattle. Then, spray the can 10-12” away from your wooden planter. Be careful not to overspray. Once protected, re-attach your metal handles with a hammer.
Step 6

FINISH: Once the planter and handles are dry you can re-attach the handles by nailing them into the planter.
Step 7

FINISH: Once everything is dry and ready to go, gather your succulents, dirt and pebbles. Then, place your succulents in the planter and cover the remaining space with dirt. Once covered, sprinkle pebbles over the dirt to give it a clean, trendy look.